.png)
Children's Flower Shop DIY Project
- planttasticcooking
- Jul 20, 2022
- 3 min read

As a gardener, one of my dreams is to raise kids that appreciate nature and find joy in the outdoors. Creating a "Flower Shop" for them was one way to help build their appreciation and their imaginations.

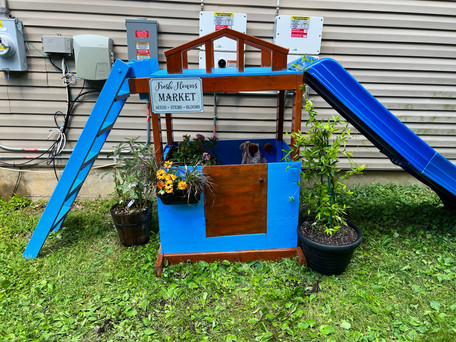
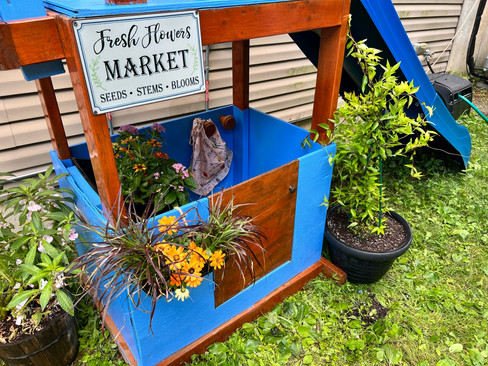
The base of the Flower Shop is a playset that my husband had built a couple years ago for our two children. It is a solid base, but definitely needed some sprucing up. The set had shown some significant wear and tear, including pieces breaking and mold forming on the wood. Our children, now four and two, played on it sometimes, but I knew they would get more enjoyment out of it with some reframing.

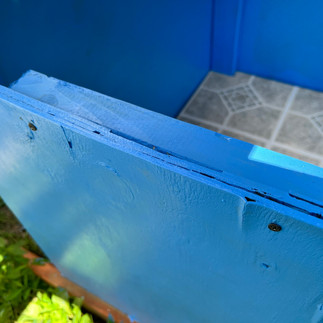
The first step to revitalizing the playset was to get to cleaning, painting and staining. We decided to use blue paint on the main parts of the set in hopes that it would hold up better. We chose a bright blue color that we knew the kids would love. After that, we found the stain that we originally used in the garage and were able to stain the brown parts. We also took this time to repaint an Ikea children's picnic table to match the playset.
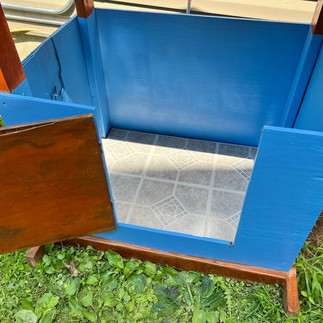
Once the playset was cleaned up, it was time to get to the fun part, decorating our flower shop. I wanted the flower shop to look well finished but did not want to spend a lot of money. I ended up using a few things that I found around the house and then spent about twenty dollars on the rest, not including the plants. I bought a sign for about $10, floor tiles for less than $6, and a couple baskets that cost $5 total. I was able to scrounge and find a plastic bin, old wooden knobs, large twine rope, and a plastic plant container for the "window" box around the house.

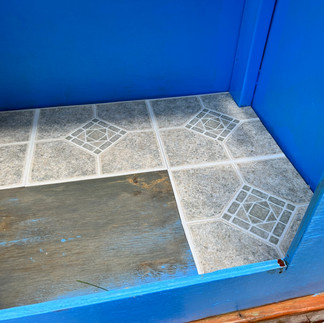
For the floor, I knew I wanted tiles because it would create the finished look I was going for. The tiles I chose were 89 cents, however, they had even cheaper ones at Lowes. These tiles are peel and stick, so it made it easy to adhere to the bottom of the playset. I simply cut them to fit and pressed them down. They are also waterproof. We know that they will get some significant wear and tear outside, but it was not expensive so can easily be redone if needed.


For the plastic bin, my son wanted his flower shop to double as a popsicle shop. I took a plastic bin that I found and drilled holes in the bottom and lower front side. This will play two parts. The first is that flowers or plants can be stored in the container. If the kids water them, the water will drain out the bottom. The container can also be filled with ice so that popsicles can be put in there as well. When the ice melts, the drainage holes will also come is handy. I adhered the container to the inside wall of the playset by screwing it into a one inch by one inch piece of wood.


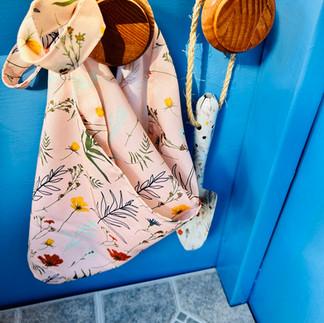
The next detail was the "window" flower box. The container is a simple, black, plastic pot that was used to sell plants. It was the perfect shape. I was able to feed thick, twine rope through the drainage holes at the bottom. This created a hanger that I was then able to tie around one of the wooden knobs that I had found. The other knobs I screwed into the back wall so that aprons and other gardening tools could be hung. These details added cute flair and functionality to the playset.

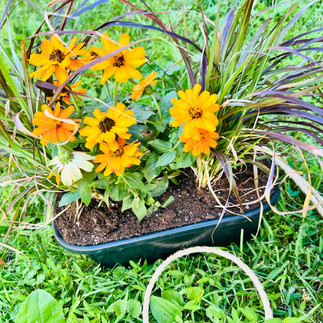


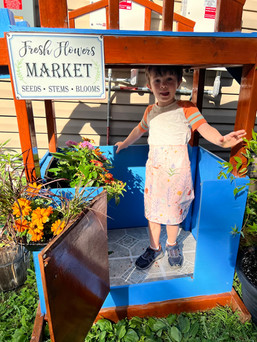
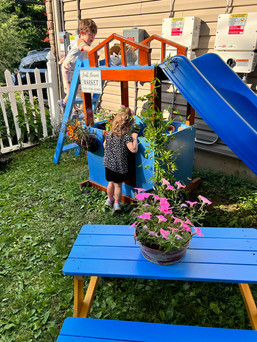
Plants were added around the set to bring the flower shop literally to life. I chose a vine that will grow up and around the top of the set. I added balsam flowers under the ladder because they like it shady. Bright, sunny flowers fill the "window" box with grasses to balance it out. Finally, the sign was hung and the shop was open! My children love this set and are always asking to water their flowers or sell us their goods. I am so happy with how this set turned out!


Check out the YouTube Video below to see it come together in action.


Comments